recipes and tips for better living

Sunday, November 13, 2011

Garlicky Greens with Cranberries & Walnuts


First off let me confess what i am doing (right now) is what i tell everyone NOT to do....AND while i'm at it, i  might as well also confess that lately i'm personally making up for the loss of cheese and wine sales in San Diego due to the 25 awesome yogi's that have committed themselves to cleansing in my Wellness Cleanse group at Core Power.  I have NOT been a good girl.  OH NO.  And here you thought my diet was always perfect.

Everyday i hear (and this is no exaggeration):

"I was about to eat a chicken pot pie and i thought of you....thinking would you ever eat this"  
or


"I was at this great cooking class and we made.....wait, do you even eat sugar?"  


or 
"every morning when i make toast i think of what you told me about processed food."

I'm not sure how i feel about being thought about every time you bite into your sandwich.  While i appreciate that you're thinking of me, I'm just not sure if the association is what i was going after.

YES, INDEED I LOVE FOOD!  That's why i have this blog.  YES,  I LOVE TO EAT HEALTHY, WHOLE, UNPROCESSED FOODS, AND NO I DO NOT EAT CHICKEN POT PIE, but YES, just like you....I AM NOT PERFECT, and time to time i do indulge in foods that wouldn't be on my personal daily menu.   I eat cheese occasionally.  I eat bread occasionally.  I eat sweets (really, you thought that box of Brownies from Trader Joes never made it into my cupboard?   I'm gonna eat me a brownie from a box time to time!)  That said, i've learned to create a balance between eating right (what i know is good, and what makes my body feel good) and allowing myself to indulge occasionally in more 'celebratory foods'.  Sometimes i fall of the wagon so to speak and then a week or so goes by and i get back on the horse.  I've chosen to eat a primarily plant based, whole, unprocessed diet because it makes me feel good...it feeds my heart, body, and soul, and I blog about it so you can learn too how to easily add more plant foods into your diet that are delicious!

And so there you have it.  I haven't been very angelic lately.  The cheese and wine have taken their toll on my body, so it's time to get back on the horse....and thank heavens i'm in the kitchen all week preparing beaming cleanses for almost 90 participants that have signed up.  HOLY MOLY!  yeah 90.  I honestly don't even know how we are doing it.  It's CRAZY.  I'm so excited that 90 San Diegans were stoked enough about health to sign up for this incredible journey.  That said, i'll be just as stoked when it's over!  My days are crazy busy right now and i'm prepping for a possible all nighter at some point this week.  Thank Goodness Beaming Cleanse will keep me nourished all day!


Last night was the last chance i had to make a light dinner from our garden before i started this week of Beaming.  I love...LOVE...this recipe.  It's easy and really delicious.  Plus the flavors are perfect for fall.  Start by getting yourself a few bunches of kale, some dried cranberries, raw walnuts, EVOO, and don't forget garlic...it's time to cook!

Rinse, dry, and roughly chop the kale
Use a dry non stick pan to heat the kale over med-high until it all wilts down.
Remove the kale from the pan, set aside
Add 1 Tbsp (maybe plus a little more) EVOO into the warm pan
Add a few cloves of minced garlic.  If you need to, return the pan to the heat to cook the garlic, but be careful the garlic doesn't brown which makes it bitter.  I use SCAN PANS which hold heat well so i can basically cook the garlic in the oil in the hot pan without having to turn the heat back on the stove.
Once the garlic is fragrant and golden mix the kale back in with a handful of cranberries, a handful of chopped walnuts, and a few cranks of sea salt.
Make sure the garlic oil coats the kale evenly.

Plate and dig in.  This is such a yummy way to get a hearty dose of calcium and omega 3's into your diet!

just a cute picture of ollie to leave you with.  He doesn't get too excited when we have vegetarian meals.  He's much more animated when Andy cooks meat on the grill.

OH...AND....the thing i'm doing right now that i always say NOT to do:

Eating (albeit a salad, but still....).....EATING in front of my computer.  I really do believe this is modern day couch potato behavior.


Share:

Monday, August 15, 2011

Grilled Greens? OH YEAH, BABY!


Who'da'thunk you could grill your greens?  We all know you can grill a zucchini, a mushroom, even a tomato.  I guess it makes sense since the Food Network demonstrated that you can grill a pizza...so why not a salad???  I know it sounds bazaar.  A few months back we received an issue of Sunset magazine that highlighted 3 recipes of grilled greens (kale, bok choy, and romaine hearts).  I had never really thought about grilling greens before that, but who am i to not to believe Sunset magazine?  Their recipes have always been a hit at my house.  That night the grill was lit, kale was clipped from the garden, and since there hasn't been a week that we haven't made this AWESOME dish.  If you are like some folks i know whose grandparents forced soggy greens on them and therefore protest eating them now, then this is the recipe to try.  The smokiness and cripsiness the grill gives the kale is INSANE, plus, if you love kale chips you are going to LUUUUURRRRRVVVVEEEE this recipe!  Start with a few bunches of kale since it shrinks up beyond belief when you cook it.  You need about one bunch of kale per person - what a great way to get your fill of green stuff!


Grilled Kale:

Step One:  De-stem the kale.  You can do this by holding the base of the kale stem and pinching your opposite hand at the bottom of the leaf.  Pull away from you to remove the leaf.  Tear the leaves into smaller 1 or 2 inch pieces.  Get rid of the stem, you don't need it for this recipe.

Step Two:  Clean your greens.  Toss into a bowl of water with sea salt to soak/clean/remove hitch-hikers (aka..BUGS!)  Pull the greens from the bowl, rinse, and salad spin to dry

Step Three:  Massage your greens.  Place in a large bowl and add about 1 TBSP of olive oil.  Massage this into all of the leaves so they are coated.  

Step Four:  Grill your greens.  Transfer to a hot grill (using a veggie basket)...you'll mostly likely need to cook in batches.  We cook it on the top shelf, cover and let cook about 5 minutes, checking it to make sure you haven't burned your greens.  Use tongs to push them around and rotate them. 

Step Five:  EAT YOUR GREENS!  Pull off when all are cooked and lightly crispy brown on some of the ends.


While this is delicious on it's own, it's EVEN BETTER with a little dressing.  Here's the BOMB GRILLED KALE DRESSING:

2 Tbsp Tamari
2 Tbsp Tahini
1Tsp of honey (to taste)

Drizzle Bomb Dressing over your greens, top with toasted sesame seeds, and eat up.  HOLY GREEN DELICIOUSNESS!

i suggest you cook more than you think you'll need since you'll gobble up the whole lot guiltlessly and then want more!


Share:

Monday, October 25, 2010

Super Charged * Super Foods: Protein Dense Plant Food


 It's a fact.  We all need to eat more greens...just like our moms and grandmas have been saying for years.  Remember how Popeye relied on a can of spinach to prepare for fights with Bruno?  Spinach is 30% protein and 70% vitamins, minerals, antioxidants, and fiber.  That sounds like fighting food to me!  Meat on the other hand may be 50% protein, but the remaining 50% will be a mixture of some vitamins and saturated fat...the kind of fat that clogs our arteries.  I'm not saying you can't eat your meat, or that you need to be vegan, but i'm pointing out that it's evident that we need to up our greens to have more clean, low-fat nutrient density in our meals.  Vegans...especially those of you eating little meat/legume/grain protein, should be mowing through the chard, kale, spinach, and other greens..they are an incredibly nutrient dense protein source.  Now keep in mind, while much of these leafy greens have a high percentage of protein, it requires you eating a significant amount of them to reap the protein benefits.  Dr Douglas Graham (Author of 80-10-10, who touts a 80% fruitarian diet for athletes) suggests we eat 1 lb of leafy green vegetables a day.  I agree.  Between these greens, other vegetables, and a high fruit consumption you will already be getting about 10% of total caloric intake in protein (the RDA is 10-35% protein of daily caloric consumption and it's always set a little higher than you really need to account for any possible deficiency) plus you receive a wealth of vitamins, minerals, and fiber, without the unnecessary and harmful saturated fats that come from animal protein.

Below is a list of the protein percentages in various plant foods.  This could be a great tool for many of you living your grateful life.  Next time you're at the market, pick up a few of these higher protein foods and swap them out or add them in to your already healthy dishes....making them that much more nutrient dense!

Vegetables
Spirulina: 56% protein
Watercress: 51%
Laver (seaweed): 40% protein
White mushrooms: 37% protein
Crimini mushrooms: 37% protein
Broccoi raab: 36% protein
Oyster mushrooms: 31% raw
Spinach: 30% protein
Sprouted mung beans: 28% protein
Chives: 27% protein
Asparagus: 27% protein
Arugula: 25% protein
Portabella mushrooms: 25% protein
Butterhead lettuce: 25% protein
Mustard greens: 25% protein
Beet greens: 24% protein
Lambsquarters: 24% protein
Mustard spinach: 24% protein
Cilantro: 23% protein
Sugar snap peas: 23% protein
Swiss chard: 23% protein
Green leaf lettuce: 22% protein
Sprouted lentils: 21% protein
Collards: 20% protein
Purslane: 20% protein
Nopales (cactus pads): 20% protein
Parsley: 20% protein
Broccoli: 20% protein
Cauliflower: 19% protein
Chicory greens: 18% protein
Endive: 18% protein
Romaine lettuce: 18% protein
Zucchini (courgette): 18% protein
Celery: 17% protein
Sprouted peas: 16% protein
Iceberg lettuce: 16% protein
Kale: 16% protein
Wakame (seaweed): 16% protein
Okra: 16% protein
Kohlrabi: 15% protein
Dandelion greens: 15% protein
Radicchio: 15% protein
Green beans: 14% protein
Scallions: 14% protein
Sweet red peppers: 13% protein
Tomatoes: 12% protein
Cabbage, green: 12% protein
Radishes: 12% protein
Garlic: 12% protein
Cucumber: 11% protein
Cabbage, purple: 11% protein
Turnip greens: 11% protein
Eggplant: 10% protein
Fennel: 10% protein
Kelp: 10% protein
Beets: 10% protein
Sweet green peppers: 10% protein
Celeriac: 10% protein


Fruit
Guavas: 13% protein
Carambola: 11% protein
Cantaloupe: 8% protein
Peaches: 8% protein
Nectarines: 8% protein
Watermelon: 7% protein
Strawberries: 7% protein
Oranges: 7% protein
Grapefruit: 7% protein

Nuts and seeds
Black walnuts: 14% protein
Pistachios: 13% protein
Almonds: 13% protein
Coconut water: 13% protein
Flaxseed: 12% protein
Sunflower seeds: 12% protein
Tahini: 11% protein
Chia seeds: 11% protein
Cashews: 11% protein
Share:

Sunday, October 24, 2010

A Newbies Guide: How To Clean Your Greens 101


Much of the produce we buy at the store has already been pre-washed and bagged or boxed to make it more convenient for the consumer.  But what if you buy your produce fresh from the farm...or without prewashing and bagging?  How do you clean your produce?

One of the easiest ways to clean all produce naturally is with White Vinegar.  Simply add some vinegar and water to a deep bowl/basin and drop in produce, swish, rinse well, and dry.  It's imperative that you dry your produce well so that it doesn't begin to mold.

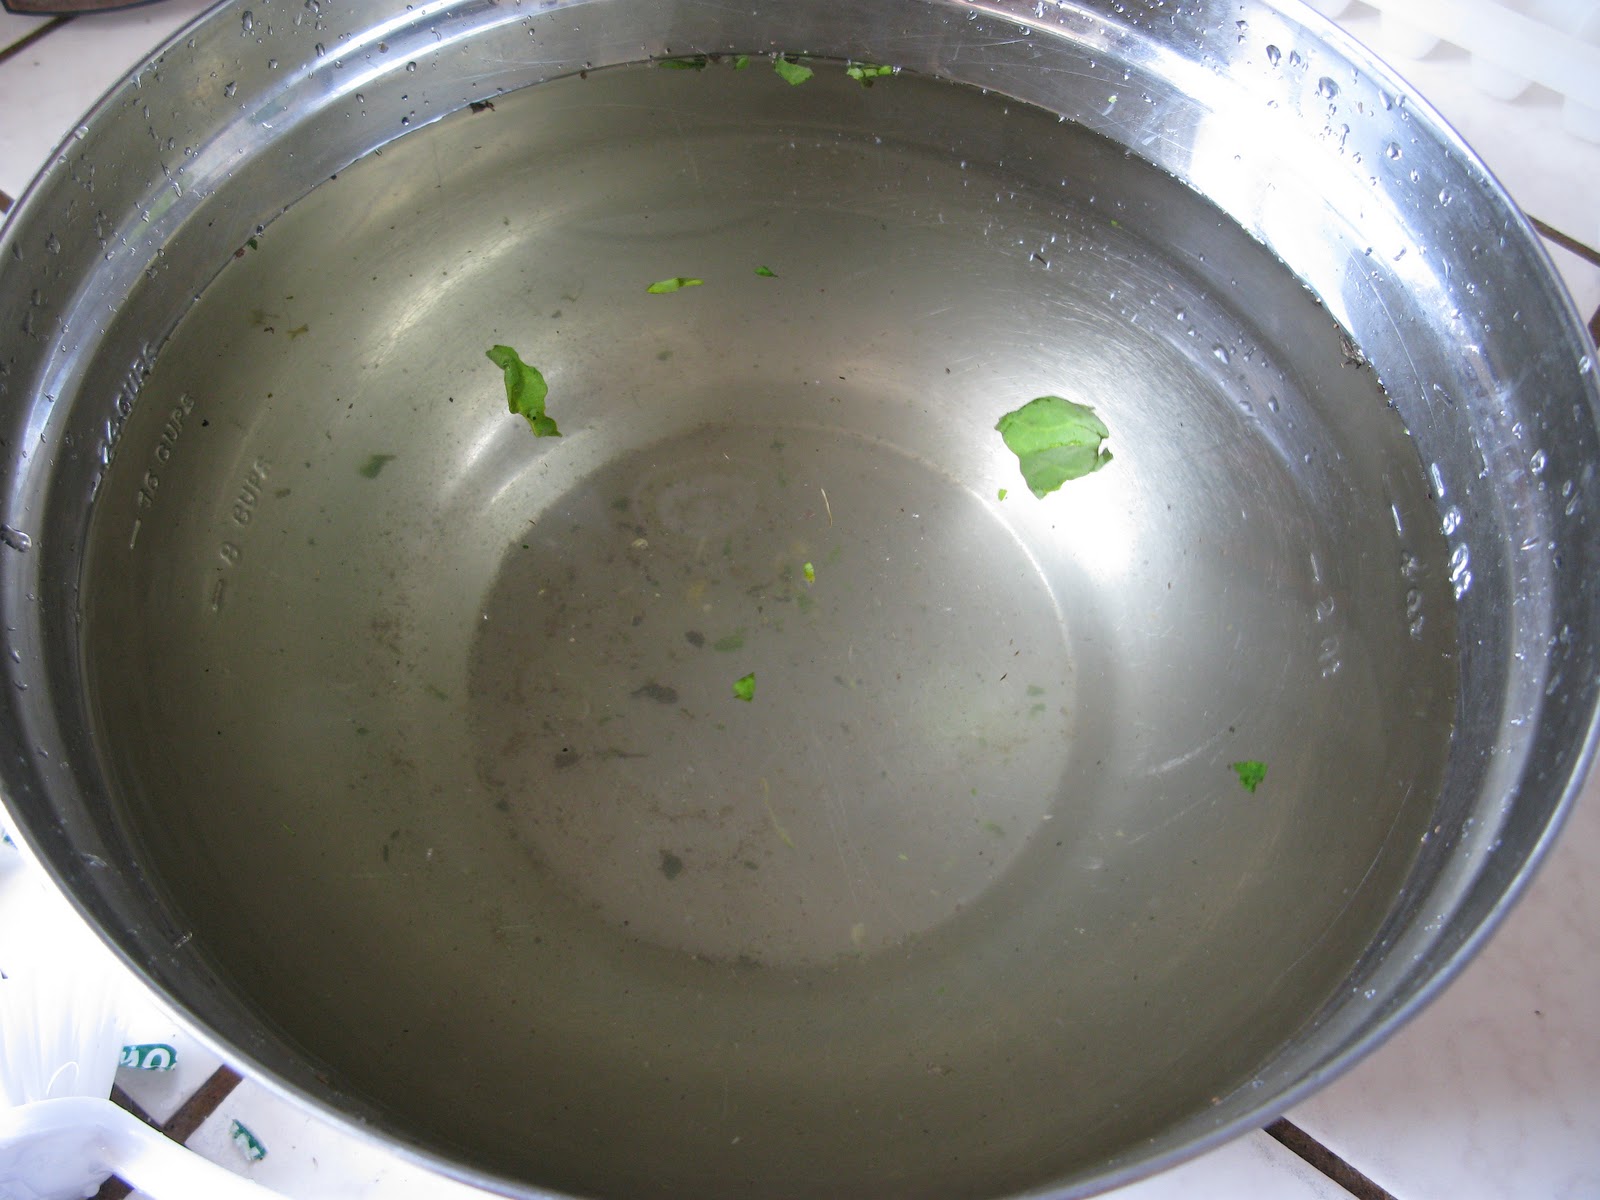
Greens require a little bit more effort on your part.  Anytime you are cleaning greens you need to soak them in a big basin of water so that the dirt and any little critters from the farm can fall off.  Lightly salting the water or adding a little Apple Cider Vinegar encourages the buggy-boos to swim off their green island so you can eat bug free produce.  Transfer the leaves to a salad spinner (do not dump the basin over your colander with the leaves in it, as this just puts all the dirt and bugs back on them).  Use a salad spinner to take off most of the excess water and store in a container with a damp paper towel.  Empty water from basin and clean.

To make your greens very convenient for you to use, take the time to do this when you get home from the market.  Right away clip, clean, and wash your greens and store in the fridge so there is one less step when you're ready to use them.

As you'll see in the photos i was working with 3 bunches of chard.  While you can leave the stem on them, i like to clip the thick stem and wash and trim it up separate.  i use these stems in place celery in salad and in crudites, or in my fave:  ants on a log (a stick filled with Almond Butter and raisins or chopped date).

Follow the visual guide below for cleaning greens:

soak, swish, let dirt settle back at bottom, place leaves in salad spinner and rinse

spin dry


package with a damp paper towel at bottom

i re-use these salad containers so they don't end up in the landfill


scrub and trim stems, compost the rest.  store in fridge, immersed in water

very dirty water with little wormies and buggy-boos.  This is why we clean greens!


...and now your greens are ready for your green drinks, salads, wraps, and all the other wonderful meals that you green up!
Share:

Tuesday, July 20, 2010

Grow Your Own Sweet Green Drink: Stevia

Last year i blogged about sugar substitutes (click here to link to post), where i refer to my fave, stevia.  When purchased in store you'll get the liquid or powdered version of the dried plant, sometimes along with preservatives or other sugars like malodextrin and silica, so make sure you read labels!  But did you know this is an incredibly easy plant to grow at home?  We've planted ours outside in a raised bed in full sun and water it about every other day (though i'd imagine you can put it indoors in a sunny window and maybe water it a little less).

Outdoor Growers: A great way to keep your greens organic and not buggy is to spray them with a mixture of neem oil.  We use a neem product we picked up at the garden store - about a tsp to a small spray bottle of distilled water, and add a small drop of dishsoap to help emulsify the mixture (allowing the oil to disperse).

Here's a pic of the full stevia plant (bottom right corner).  We've got so many amazing greens in our raised bed: cilantro, basil, chard, and a few varieties of kale

It's great to have even a small garden growing so you can pick your greens and your sweet greens (stevia) for salads and smoothies right from the garden.  Talk about living energy, straight from plant to plate!

Pick a few leaves to put into your smoothie.  Bite into the stevia leaf, they are super duper sweet!


blending


Pour your smoothie into a big ol' glass or jar, step outside, and soak up sun; allow your body to drink it's Vitamin D.  This jar was bigger than my head, albeit my head is very small.  haha.  
RRRRAWRRRR - giving me awesome energy today for SHO-GA!  What up Mayurasana - I so have you today!


okay, the jar was way too big...insert a straw for civilized sippin'
mmmmmmmm
Share:

Sunday, January 17, 2010

Get Your Green On & Sip On This: Clean Green Goddess Juice


Many of you may not have a juicer, but most of you do have a blender. Here's a great way to make a healthy delicious green juice that will please your pallette and your wallet. Ingredients for an entire gallon of organic juice will cost you about $12, half that for a 1/2 gallon. Well worth the money to have such an incredibly delicious whole foods drink. You will need a high speed blender such as a vita mix or blend-tec. You can use an Oster or other such brand, but you may be left with more fiber from leaves and pulp from fruit. High powered blenders like the vita mix will surely blend up every little bit making this the ultimately smooth green beverage. Be willing to try different fruits each time. The addition of pineapple will add more sweetness, or to cut back on sweetness substitute some of the apple juice for more water or flavored herbal tea.

To make a 1/2 gallon pitcher:

2-3 cups loose packed baby spinach
1/2 bunch of green swiss chard (stems removed)
1/2 banana
1/2 mango
1 kiwi fruit
3 cups of organic unfiltered apple juice
3 cups of water
option to add in a greens booster: my recommend would be a tbsp of "Greener Grasses" by Healthforce Nutritionals.

You'll most likely need to work in two batches. First batch: add half the ingredients above to your high speed blender, blend well, then pour contents into your pitcher. Second batch: add the remaining ingredients to the blender, blend well, then pour contents into your pitcher. Shake the pitcher well to combine both batches. Wha-lah! It really doesn't matter in what order you add and blend the ingredients in the blender, as long as each batch has 3 cups of liquid to allow contents to blend into.

Double the recipe to fill a whole gallon pitcher. If you have multiple people living with you that will be sharing this, i would definitely recommend the gallon size. Shake before serving. It's so sweet and delicious...this drink is always quick to go.

Each one cup serving will have approximately 80 calories and 1 grams of fiber - no fat.

If you want to thicken your individual serving to make a smoothie, feel free to toss a cup of green juice into the blender with some more fresh fruit and additional greens. I would suggest additional strawberry, pineapple, banana, and spinach or chard. Consider adding some flax seeds for omegas and a fiber boost or a scoop of unflavored protein powder. If contents become to thick to blend, just add a couple ice cubes or a bit more water or green juice.
Share:
Blogger Template Created by pipdig