recipes and tips for better living

Monday, November 28, 2016

DIY Coffee Bean Infused Coconut Body Oil


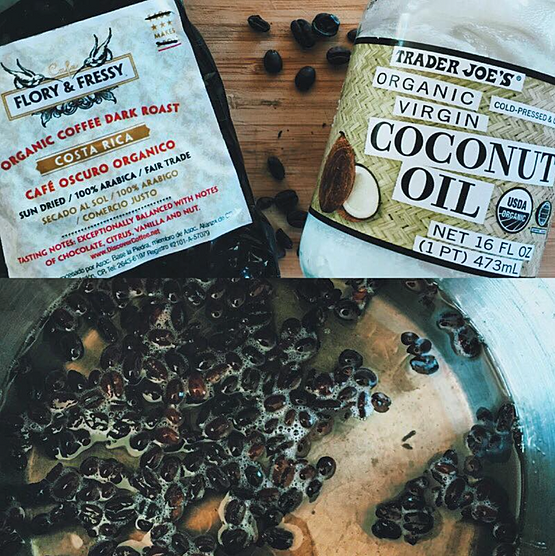
Here is one of my all time favorite Body Brews that is super easy to make and will leave your home and skin smelling amazing. This body oil is made with 2 simple ingredients: organic caffeinated coffee beans and organic coconut oil.  Think of the body brew as "Maui Babe" meets Holistic Healing Body Oil. 

Because caffeine constricts blood vessels it's often added to skin-care products to help reduce cellulite, promote a tighter tummy, and reduce under-eye puffiness. Along with the cooling effects of coconut oil you have the perfect blend of anti-inflammatory body care that Ayurvedically balances Pitta Dosha (aka heat) and helps re-invigorate the body and mind.  Here's the exact extraction and DIY body brew making process. It's such a great home-made gift, and it's what i'm using right now to remove makeup and wash my face with (coconut also has anti-bacterial and anti-fungal effects). 

What you'll need:

One jar of organic coconut oil
1/4 to 1/3 cup of organic coffee beans
Mesh strainer, glass bowl, funnel.

Directions:   

Melt the coconut oil in a pot over low heat.  Add coffee beans and simmer an hour or two over the lowest heat.  Strain through a mesh strainer into a glass bowl to cool.  Once cool, funnel back into the original jar and remove any bean fragments.  Lid and enjoy liberally massaged into your body daily.


Share:

Sunday, March 25, 2012

DIY Nut Butter


There is nothing quite like a batch of warm freshly made nut butter.

You can use any nut you like (i've tried this recipe with almonds and cashews).  Buy them raw and be attentive while roasting so they don't burn/over brown like i did my first batch.  Set the oven to 275 degrees fahrenheit...any higher and you're looking to burn yo'nuts!  I do a whole bag at a time (i buy my nuts raw from Trader Joe's as their prices are better than elsewhere).  Space out a bag of nuts onto a parchment lined baking sheet and bake at 275 for about 15-20 minutes. 

Watch your nuts starting at 10 minutes to make sure they are browning and not burning.  They go from brown to black quick!  You want golden brown nuts.  If you bite into a nut it should be slightly golden on the inside.  Remove from oven and allow to cool for a few minutes.  Transfer to your food processor with an S blade and process (takes about 5 minutes to get a butter).  
beginning to process to a powder

You'll have to scrape the walls occasionally.  Within a few minutes you'll see the oils releasing and a nut butter forming.  


creaminess...mmmmm

Continue to process.  Either keep them plain or (like i did) add a 1/2 teaspoon of sea salt, cinnamon, and a few drops of english toffee stevia.  Once completely smooth enjoy with a few chocolate chips and transfer to a glass jar.


This should keep in your fridge for about a month if you have willpower.  In my house it will be devoured within days.


Share:

Sunday, May 1, 2011

We're Having An Etsy Party: Personally Meet & Shop 'The Rusty Schwinn' & 'Jane Shop'


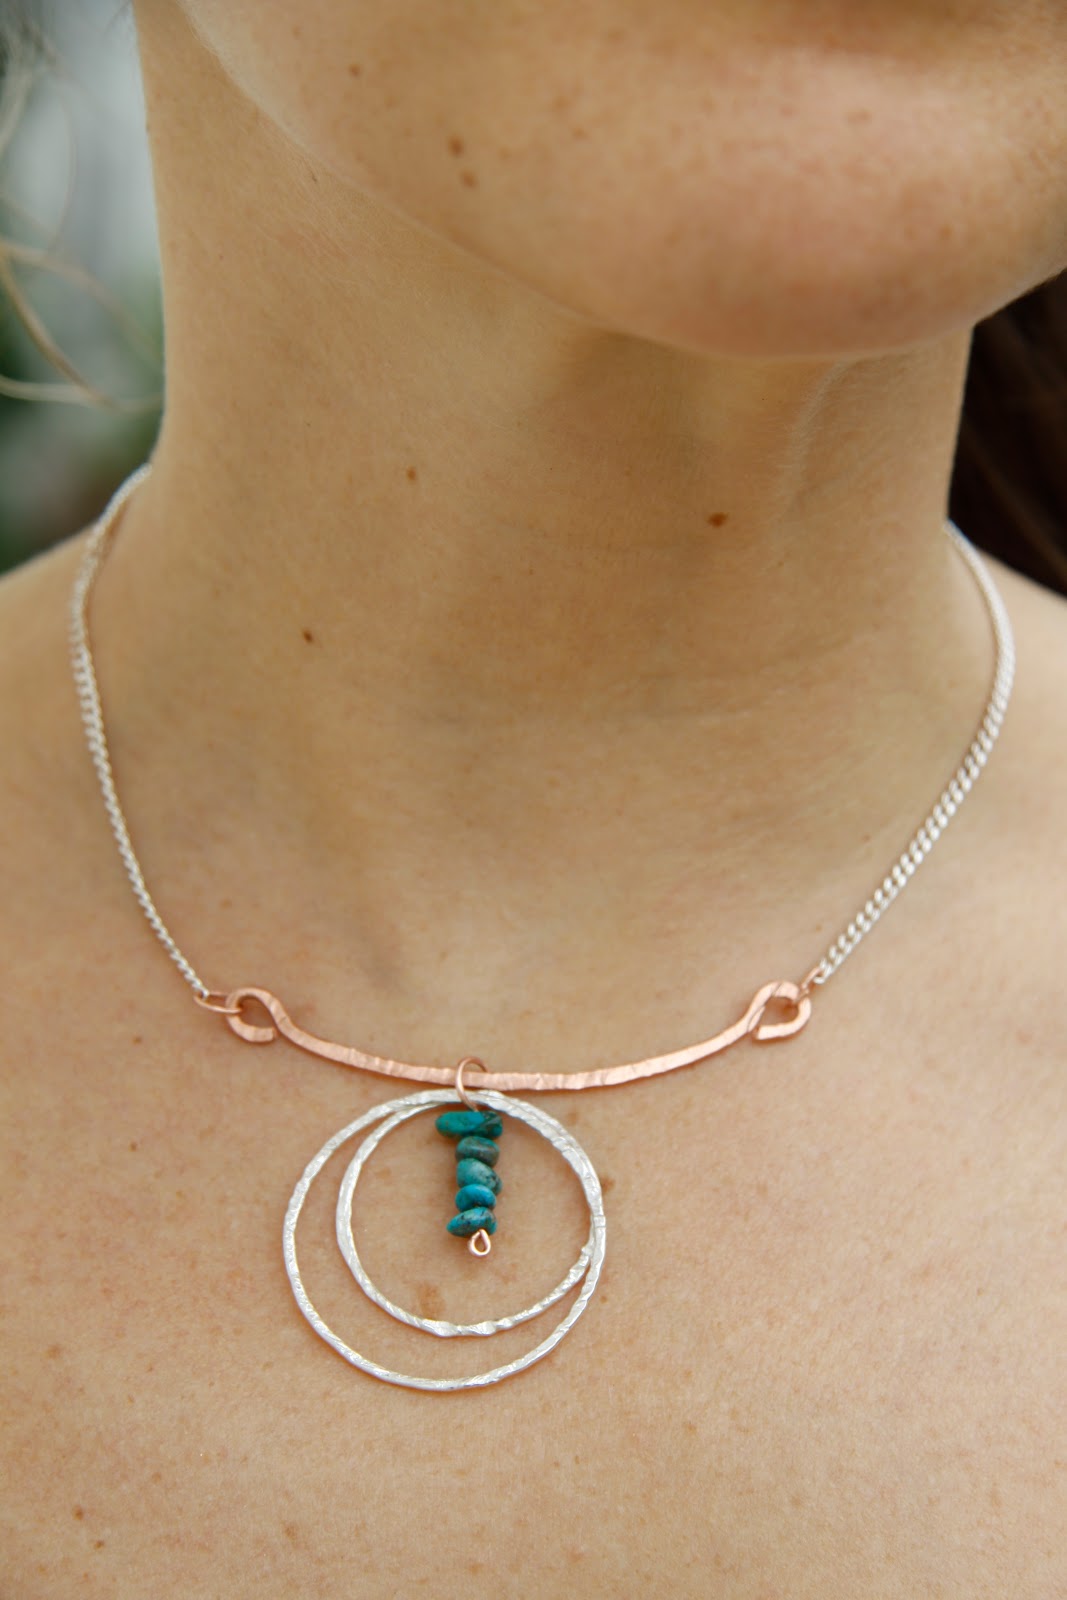
Hey Friends.  Have you been to my etsy site yet????  I'm so diggin' these chain danglers.  I've been getting really great stones and embellishments: turquoise, coral, shell, and i just picked up some ruby to work with too. 

My friend Diane of 'The Rusty Schwinn' and i are planning to host an Etsy party soon.  If you are an Etsy crafter in the area and would like to be part of this fun shopping, partying extravaganza hit me up!  Diane makes beautiful scarves and fun feather earrings.  Plus she's just super rad!  Check out her esty site and her blog (click)

What do you want at your Etsy party???  Of course there'll be fun jewels and other sassy fun things to shop for.  What about Vino?  Snacks?  Music?  Cupcakes?  Raffles?  Discounts?  All of the above?  Tell me what would draw you in and i'll make it happen!

Here's a preview (with links) to new pieces you'll find on my etsy site:

i am in love with these.  Turquoise and coral - ooooh la la.


By the way...if you live in San Diego I'll wave all the shipping fees.  Woo hoo!!!  So email me via etsy and let me know which ones you like'y and i'll send you a private link sans shipping.

coral and faux bone/shell danglers - Dazzling Dahhhling!

Those coral teardrops have this stunning sunburst design on them.  Beauty!

long chain, faux bone/shell, and turquoise dangl'ahzzz.  


i named these ones Brooke, because they remind me of what my girlie Brooke would rock.  C'mon Sister - put in yo' custom order.  click here if you want these 6 inch chain, shell, and turquoise earrings

These earrings look great worn as they are sold (as a pair) or even better when mis-matched.  Have fun, buy a pair for yourself, a pair for a friend, for your ma for mothers day, and your sistaz for being your sistaz.  Share or trade singles to make your individual pair, or hit me up for a customized order.  I'm having so much fun making these - keep the orders coming!


Share:

Sunday, April 17, 2011

Less Eating, More Crafting: What I'm Making Now.


Helloooooo out there!  So i've been a little absent lately on me ol' blog for good reason: I've gone into production mode.  Jewelry making has been a hobby of mine for longer than i care to speak of, and though i often toss it aside to focus on my career, lately i've been heavily drawn back to it with this incredible need to speak to my creative side.  So while i still eat, and while i still love to talk about FOOD, i haven't been photo crazy on my meals because my mind has been tunneled on my next crafty adventure.  AND here i am sharing with you what i'm making lately.  (Yes, there will be a foodie recipe too, don't fret).


Right now i'm into copper and i'm loving hammering the wire, wrapping it, adding it to other textures, and just being creative.

Let me know what you think of these few weekend pieces.  Should i finally open my Etsy webpage?  (I registered years ago, but never posted on it.  I tend to like what i'm doing when i'm doing it, then cut myself short when it's time to make sales - marketing myself is definitely not my forte).


Okay...enough about my crafty side...Let's talk food...cuz that's why you're really here, right?  I have so many things to post about, however today we'll talk about 'stretching your juice'.


I love juicing.  I love starting my day with a nutrient dense, enzymatically alive beverage that makes me feel amazing.  Green juice does this for me.  Our garden is growing greens like mad and i've gotten some amazingly HUGE organic beets from my CSA that were beckoning to be pressed into a sweet beverage.  Done and done.  

"I juiced you...you deeeeelicous red beet, and you too my bright green kale, but now what am i to do with this meesley 8 oz of juice you produced when i want to enjoy you all morning in a big ol' mason jar that will supply me wth 30+oz of liquid to keep me hydrated and happy?"

answer: filler' up with coco water!

Coconut water...the amazing yummy beverage that i shared with you back in August (click here to read all the amazing bene's of coco water).  Coconut water not only makes your juice taste even more amazing, but it offers you a lot of electrolytes for very little sugar which is great if you are like me and spend much of your time in a hot and sweaty environment.  Now, pure coconut water from the coconut would be choice, however the price of these delicacies has been skyrocketing lately so your next best bet will be packaged coco water.  I've tried many of these, and they mostly all suck.  They don't taste like coconut water, and i'm not sure how many of the nutrients they rave about are still there after it's been pasteurized, however, i have found ONE brand that makes a pretty tasty and decent beverage, and it's this one i use to fill my jar to stretch my juice.  The brand is ONE....ironic...since it really is the only  one that i've tasted that actually tastes like coco water.


All you juice luvah's out there go get yourself some ONE juice.  Press your veggies then fill ur jar with this stuff.  My morning juice looks something like this:  5 stalks celery, 1 large red beet, handful of kale, one lemon, one navel orange, and coco water.   So good.

Now you tell me...What's in your jar????
Share:

Sunday, December 19, 2010

More DIY X-Mas Ideas: Giving Granola


I'm a big proponent of homemade gifts.  Not just because they're affordable, but because they are so personal and straight from the heart, a labor of love so to speak.  Last year i blogged about making hand stamped cards (click for link), the year before I made salves from fresh herbs, oils, and beeswax.  I've been known to knit scarves, make jewelry, and craft candles or soaps as well.  I figure each year is a new gift, and gets me involved in a new project, teaching myself a new skill.  This year...i've mastered granola (click for link).


 If you read this blog regularly you may have noticed that lately i've gone on a bit of a granola bender.  Maybe it's not quite apparent from the blog, but one step in my door and you'd know.  The house always smells like carmelized sugars, it's warm and toasty from the oven running, and there are glass jars of granola lining the shelves.  Thing is, it's so good, it never lasts long.  Perhaps this is why i've blogged less about food lately;  I'm too busy being a granola factory to remember to take pics of the other foods i eat.

On a recent trip to LA, i went to one of my favorite stationary stores, Urbanic (click for webpage),  on Abbot Kinney in Venice.  I found these great little Sukie (click to order on amazon) sticker labels that i thought would look fab on containers of granola.  The light bulb went off above my crown - ahhhh, christmas gift project solved. 


Off to "Fart and Smile", my pet name for the smaller, though costco-esque supply store, Smart and Final, to purchase food containers, oats, honey, and almonds in bulk, then to my local co-op to get organic gojis, cacao nibs, coconut shreds, pumpkin seeds, dried persimmons, and good coconut oil.  All together i spent about 100 smackers, but had i used cranberry, gold raisins, dried apples, or anything other than organic gojis and cacao i would have saved about 30 bones.  The trip to the co-op is always a bit costly, but i love the quality of foods and unique options i get there.  Once i had all my bits and bobs i dove baking mits first into the kitchen for a four hour 40 container granola making experience.  40 gifts, $100 investment...we're looking at under $3 per quality and heart felt gift.  Now that's good stuff.


The only warning i will give you if you decide to bake away hours on end for holiday gifts is to skip breakfast.  I promise you, you will eat more than your fill (maybe even more than your body weight) in samples of granola throughout the baking process.  Not such a bad thing, but it could get a wee bit sickening if you started your day heartily.

I took all my pics during the baking process with my boyfriends Cannon 50D since my camera battery needs to be recharged.  Out of laziness i never took pics of the final product.  So any of the labels you see in the pics eventually have all the ingredients hand written in pencil on them.  A very nice homemade touch.

Merry Granola-Making and Happy Holidays!

PS...i can't help but post a pic of the cute elves that helped me make sure the kitchen floors stayed clean during the baking process.


Share:

Tuesday, December 14, 2010

DIY Lantern Makin': Used Glass Jars Make Simple Gifts


Mason jar lanterns are a super easy and uber cheap DIY gift idea, as well as a sweet addition bringing more mood lighting into your boudoir, home, or yard.  All you'll need is clean glass jars of various sizes, tealight candles, scissors, and about 3 feet of roping of choice per jar (i used a suede rope but a thick hemp would work.  You could also use a heavy gauge wire if you have wire wrapping tools).


*Take a piece of the 3 ft rope at one end and loosely wrap it around the jar mouth, just above the bottom lip.

*Gently tie it in a half knot (same as the first step in tying your shoes) leaving about two inches on either end of the strings coming off the knot.

*Snip the remainder of the roping from the end still attached to the other few feet of rope.  This extra long roping you've just snipped will be the hanger.

*Create an upside down U shape with this long roping by weaving either end of it UNDER the rope you gently tied around the lip (both ends need to be directly across from one another so that it hangs balanced).  Leave both ends of this rope long enough to hang down lower than the jar.

*Now tighten the rope around the lip really good and knot it again (so it's now in a full knot)

*Make sure the U shape (hanger) is as long as you'd like it and that it will hang balanced.  take the rope hanging down on either side and simply knot it over itself and let the strings hang, or trim them up a bit.

*Insert a tea candle.  Hang and light.

These look great outside tied to tree branches and create the perfect ambiance for a yard party or to add glow to a snowy yard on Christmas night.

Share:

Tuesday, August 10, 2010

Koo Koo For Coconuts!

thai baby coconut*


After a long day at the beach there is nothing i look forward to more than cracking open a delicious chilly coconut!  Talk about refreshing!  Coconut water is a natural isotonic beverage.  It replenishes the electrolytes lost through sweat, which makes it a great choice for after work out.  Many people confuse coconut water with coconut milk.  The water is the sterile liquid housed within the center of the nut which is papered with thin white coconut meat.  Coconut milk is actually the meat blended WITH the water.  While the meat is a fatty food, the water is not.  Coconut water is 99% fat free and low in sugar without any cholesterol.  It's packed with potassium, fiber, vitamin K, and as i mentioned electrolytes.  The liquid is so similar to the composition of our plasma that it had been used during World War II in emergency situations as an intravenous solution to save lives of soldiers in the Pacific.  If that's not enough reason to start sipping this beverage i'll give you a few more:

*  it's delicious, it's cooling, and refreshing
*  Ayurveda considers it a carminative (meaning it helps to dispel gas) and aids in removing toxins
*  coconut water helps carry nutrients and oxygen to cells
*  coconuts are anti-viral, anti-fungal, and anti-microbial
*  it's said that drinking the water can help break up kidney stones
*  the lauric acid in coconuts helps with digestive disorders such as leaky gut syndrome


Let's grab your coconut and get cracking and sipping.  You'll need a sharp cleaver.  Use the bottom tip of the cleaver to whack at the coco in a circle around the top peak (or you can use a serrated knife to cut the husk around the peak and the peak off so there is a flat top to work with).  After making your circle cut around the top, use that same sharp edge to pry the top off and insert a straw or dump the water out into a glass.

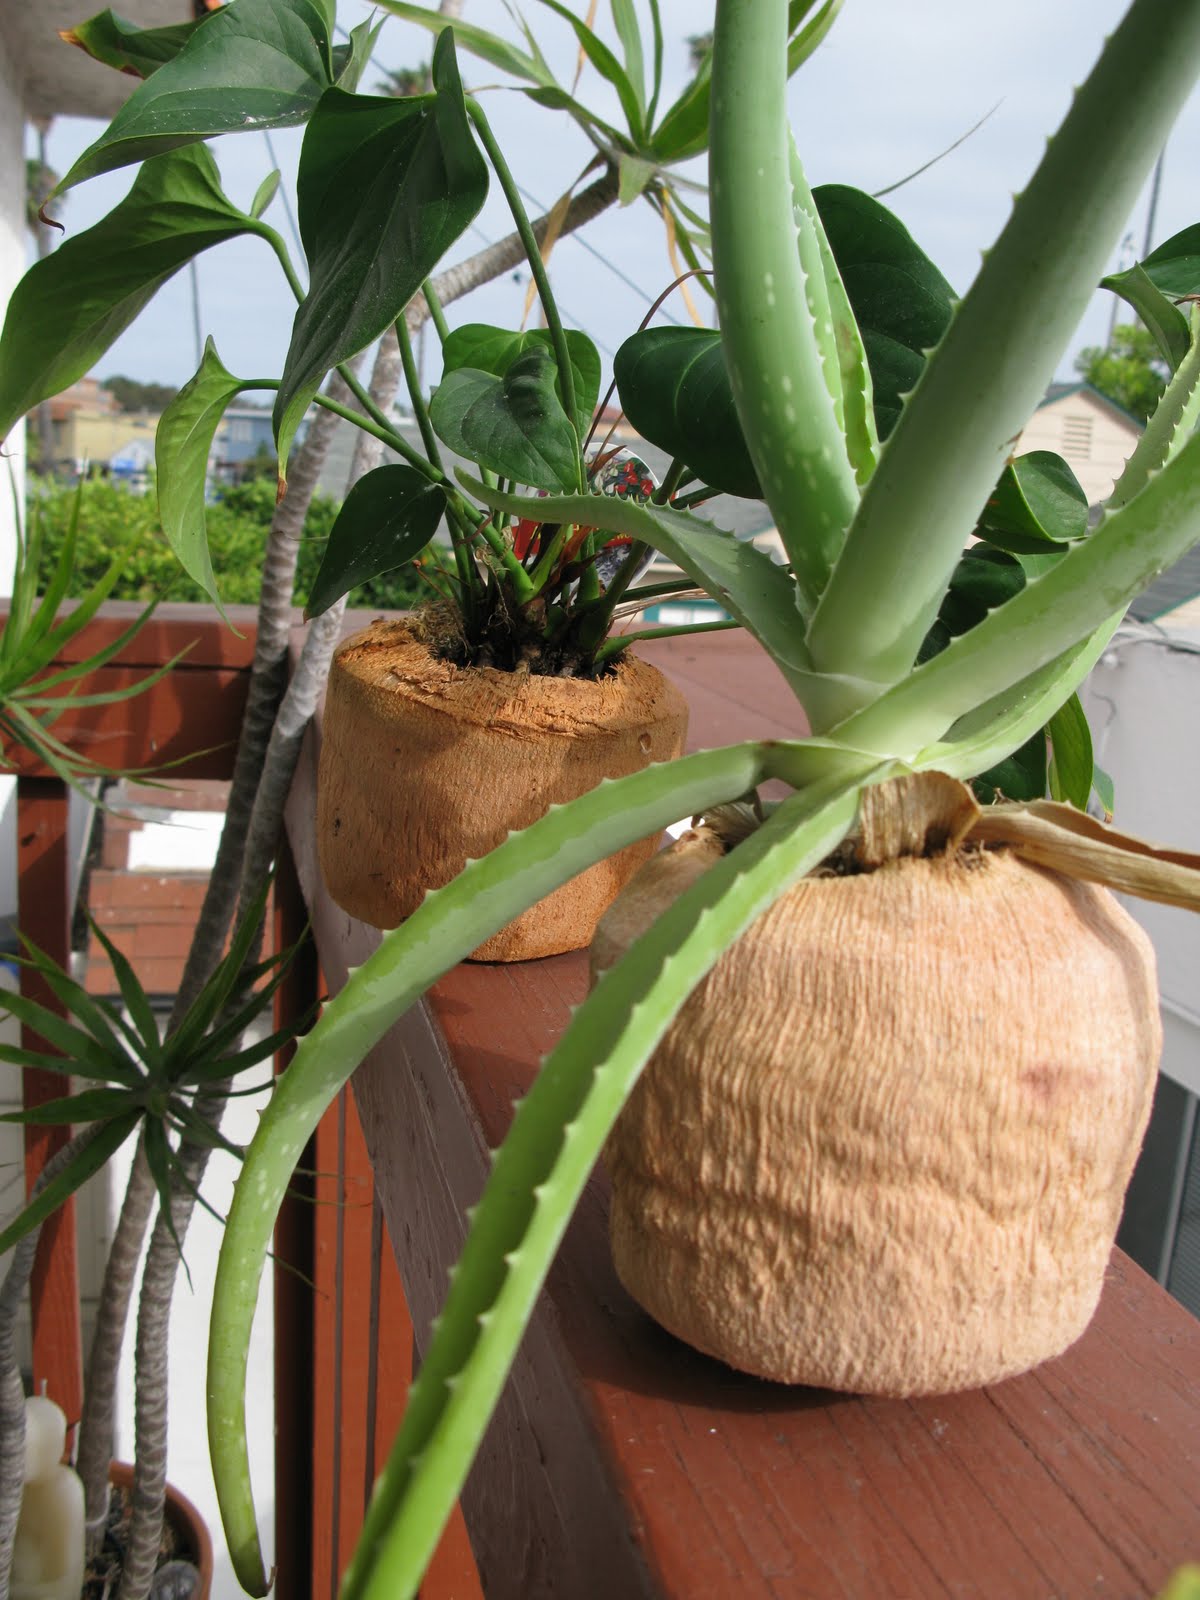
But wait....don't throw the meat and the shell away!  The meat (though fatty like avocado) can be used in recipes.  AND if you scrape all the meat out of the center you have a really cool pot for your house plants.


I'm Koo Koo for Coconuts!!!


*first image sourced from google
Share:

Monday, May 31, 2010

Anthropology Step Aside! DIY: Terrarium Makin'


Nothing fulfills me more than getting my hands involved in a project. Whether it's cookie dough kneading, making jewelry, sewing or knitting, or in this case making terrariums, tapping into your creativity and staying focused on an afternoon craft session is sure to soothe the soul and allow you to escape the traffic that clutters our minds. Terrariums are a thing of the past, that is (like all other things of the past) cool again...and for good reason. These things are rad! Terrariums are little mini eco-systems, or rather (like how i made them) little fantasy or wonderlands. I've seen them in the anthropology catalog selling for over $100...and while i want one of these in my house, i simply can not justify spending that much on a plant....especially with my lack of green thumb. So enter afternoon project - learning to make a terrarium!

In an effort to do this on the cheap i hit up sunday's Kobe Flea Market for some trinket and glass jar/bowl finds. I would definitely encourage you to thrift for your jars. Not only will you walk away spending only a buck or two, but it'll have more character and personality than what you'd find at a larger retail shop. After a couple of garden shop stops to pick up ferns, succulants, moss, and the other goods i made my way to my project table to get the terrarium makin' underway.


Here are the steps for making a terrarium:

Start with a glass vase/jar/bowl. If you are using succulents make sure you do not close off the top, but if you are using ferns and mosses feel free to find a cloche or a glass jar with a top.

first layer is pebble/gravel - this is for drainage since there are no holes in the bottom of the container.

next layer is finely ground activated charcoal

next layer is regular potting soil for the ferns, or cactus soil if you are using succulents.

Your jar should now be about 1/4 filled up

Add an optional layer of moss.

Then plant your desired plants/succulents. Found trinkets can make it a real wonderland.

Add a shot of water or a mist of water. Water minimally as they don't drain.

And there you have it! Pix below of the completed project.


Share:

Sunday, December 13, 2009

Holiday Stressin'? : Don't Hate...Create. Tap Into Your Inner Artist


It's the 13th of December...only a week and a half away from Christmas. When did december sneak up on me? And where did the year go??? Gosh...I was still trying to get started on my new years resolution from january 2009! Uh-Oh. Oh Well on the bright side, at least i don't have to think up a new one for this year!

This has been a tough year for most everyone i know, many feeling the effects of our economic struggles in one way or other. Of course this makes gift buying even harder. I have found that making gifts every year for my close friends and loved ones has been a money saver, a fun form of self expression, and is always humbly enjoyed by the reciever. These homemade gifts might be baked goods, knitted or sewn scarves, homemade candles, or like last year, a home-made herbal salve. This year i decided to make home-made holiday cards. Not only is this a great way to relax, tap into your creativity, and create some art, its also a gift in itself when you personalize the cards for the individuals who will be receiving them. I stopped by "The Paper Source" shop and bought some basic beige cards and holiday colored envelopes, a sharpee, a couple stamps, and a dye based ink pad. Cut to Sunday morning - a devoted, fun, tunnel visioned few hours of creating artful and thoughtful holiday cards for me' loved ones. Not only did i have a great time doing it, it was the perfect creative release helping to offer a little relaxation amongst all the holiday mayhem. If you are reading this thinking ' I CAN NOT DRAW TO SAVE MY LIFE! ' No need to sweat it...this is the beauty of stamps! You can arrange the images differently on each card and add your own handwriting for a unique personalized touch. And if you can draw but have trouble seeing in your mind the lines you want to put on paper, have your laptop nearby and google images of what you want. Try your hand at it first on a scrap piece of paper until you make it your own and you're well on your way.

This is a great project to do with a group of friends or your children. Whether it's designing cards over afternoon tea, an evening glass of vino, or while you are waiting together for your big batch of holiday cookies to cool so you can decorate, you'll have a great time sharing ideas and laughing with your favorite people. Plus this way, you can consider splitting any costs for materials with your friends!

Have fun with your projects and happy holidays!
Share:

Friday, September 11, 2009

Don't Have A Cow Man: An At Home/DIY Almond Milk Recipe


Kick the cow to the curb, lose the dairy for a bit, and let your body start to cleanse itself. The two main foods stuffs that most people have trouble digesting/have allergies to are dairy and gluten. So why not give yourself a break?? Ditch the dairy, and leave the milk alternatives on the shelf. Make yourself some fresh enzymatically rich almond milk right in YOUR OWN KITCHEN! The best part about it is that you make it taste how YOU want to have it....and there are so many delicious ways to have it!


What you'll need:

high speed blender
nut milk bag** (or fine weave cloth - not a cheese cloth, or any fine mesh strainer)
pure water
1 cup of raw almonds
choice of sweetener or flavoring (vanilla, dates, cinnamon, stevia, etc)
large mixing bowl, and pitcher or glass jar to keep your milk

The night before you are making your milk, put the almonds in a bowl and fill with pure water (cover the almonds by a few inches as they will swell), and leave on the counter at room temperature overnight (8-12 hours). In the morning drain and rinse the almonds.

This process of soaking your almonds helps to remove an enzyzme inhibitor, as well it helps to decrease the fat, and bring out the vitality of the almond as if it's being regrown/sprouted.


You will now have probably 1 1/2 cups of almonds, due to the swelling.
Place fresh water and almonds in a blender (i often do 6 cups of water to 1 1/2 cups of almonds, but you can choose to add more/less water and make it thinner or thicker based on your preference - there is no rule on the ratio)
Add pitted dates or flavorings - or you can save this step til the end.
Blend on high until the almonds process down to a small fiber.

It's as simple as making a smoothie!  You can enjoy as is or strain out the almond meal.  


Either send through a mesh strainer or use a nut milk bag or paint strainer bag to strain out the almond meal.  If using the bag, hold the bag over a large mixing bowl. Pour your almond milk into the nut bag (you might only be able to add 1/2 at first) and use both hands to press the liquid through the mesh nut bag. Wring and milk it to get all the liquid out leaving a dry almond pulp in the nut bag. Discard the pulp.

Here is your almond milk.  If you didn't already toss in some dates, then throw the milk back in the blender and season with dates, vanilla, or cinnamon.  Add whatever sweeteners and flavorings you would like and blend again. A simple option is to add 3 whole fresh mejool dates. You can also add vanilla bean or cinnamon, get creative.

Pour your almond milk into a glass pitcher or glass container, cover, and store in the fridge.  It should hold well for 4 -5 days. Shake before use.

(This almond milk makes a great base for fruit smoothies too!)

**you can buy a nut milk bag here.  You can also simply get a paint strainer bag at the home depot.


Share:

Monday, August 17, 2009

'I Dare-y You', first lessin' in fermentin'

are you a dairy doer? if the answer is yes, and you love your yogurt - why not make your own? I admit, this takes time....like risotto, you must stand and stir for 1/2 hour, but in the end it's like eating love. So if you have a little free time, feel like getting creative, let's get fermentin' and make some yogurt.

what you'll need:

A quart of low fat or whole milk. (I've always gone straight for the raw milk - since we are essentially pasteurizing it during our 1/2 hour of stirring / heating)
1/4 cup plain yogurt with 'live cultures'
a large pot
a thermometer
a metal spoon
and a large glass bowl or jars with tight fitting lids/containers for storing yogurt

Start by heating the oven to warm for 10 min. Turn heat off and leave heat in the oven. Pour the milk into a pot and heat the milk on stovetop to 180 degrees F. Stirring the entire time, make sure that the milk never boils or scalds on the bottom. It will become frothy. Keep the milk at this temperature for approximately 30 minutes. Remove from heat and allow milk to cool to 110 degrees. Stir in the starter yogurt- this is the 1/4 cup of plain store bought yogurt with live cultures. Your future batches can be made from your yogurt rather than store bought. Transfer to containers and cover with plastic wrap. Place containers in your incubator (warmed oven) and let sit 8 hours. Take out, stir, and put in your refrigerator to store for up to two weeks. Stir in any fruits/flavors before eating if desired.
Share:
Blogger Template Created by pipdig